Minecraft Server Creation
Crafty 4 allows you to choose Minecraft Java or Bedrock. Select this by choosing Minecraft-Bedrock or Minecraft-Java on the top navigation once you are in server creation.
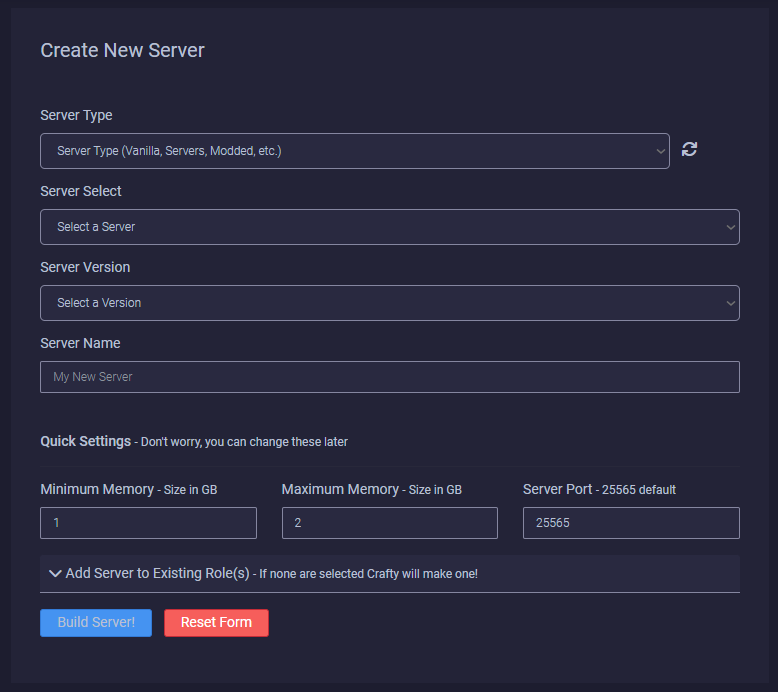
Create a new server
This is a server creation tool. It gives you a selection of options for customising your dedicated server installation. Set the options you require, Crafty will download and prepare your Minecraft server.
Near the bottom you will designate your min/max ram and designate a port. You can also choose to add the server to an existing role using the dropdown.
Server Port - Docker Port Range
Remember, with docker you will need to match the ports that you've made available to your container. If you are using the provided examples, you should have 100 ports to play with.
Import a server
If you already have a Minecraft server that is already set up, you can import this into Crafty!
Very similar to the local zip import, instead we're uploading the zip to the dashboard.
Choose the zip containing your server files and click upload.
Once uploaded, click on 
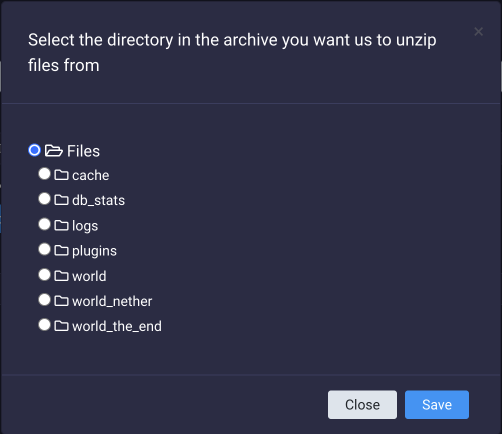
You will be directed to a selection screen. Here, you will select the directory you want as your root directory for your server. The root directory in this archive is the one base directory where all the server files are stored so I’ll just keep “Files” checked off.
Starting a Server
You can start a server from the terminal by clicking the 'Start' button or from the dashboard by clicking the button.
If this is your first time starting the server you will be met with the dialogue, asking you to confirm you have read and agreed with Minecraft's EULA.
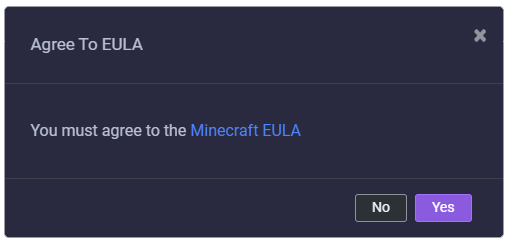
If you press "yes", we will agree to the EULA and start the server for you.
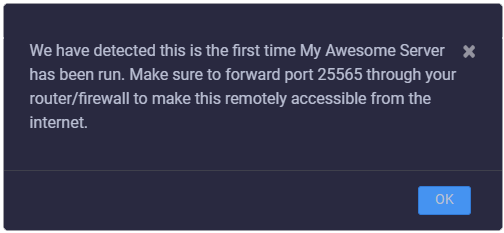
Crafty will give a quick reminder to make sure your ports are forwarded if you want to access it remotely.
At this point, we have a running server! 🎉