Using the File Manager
This document provides an overview of Crafty's file manager, offering a comprehensive set of tools for managing your files within the Crafty itself.
Crafty stores files internally, in a directories with a server specific guid, even though you can copy files in and out of these directories on the host, The file manager allows you to seamlessly edit, upload/download, rename, and organize your files with ease, without having to worry about file ownership/permissions.
In this document, you will find step-by-step instructions and useful tips on utilizing the file editor, performing file uploads, managing file names, and efficiently organizing your files to streamline your workflow within Crafty.
Working with files
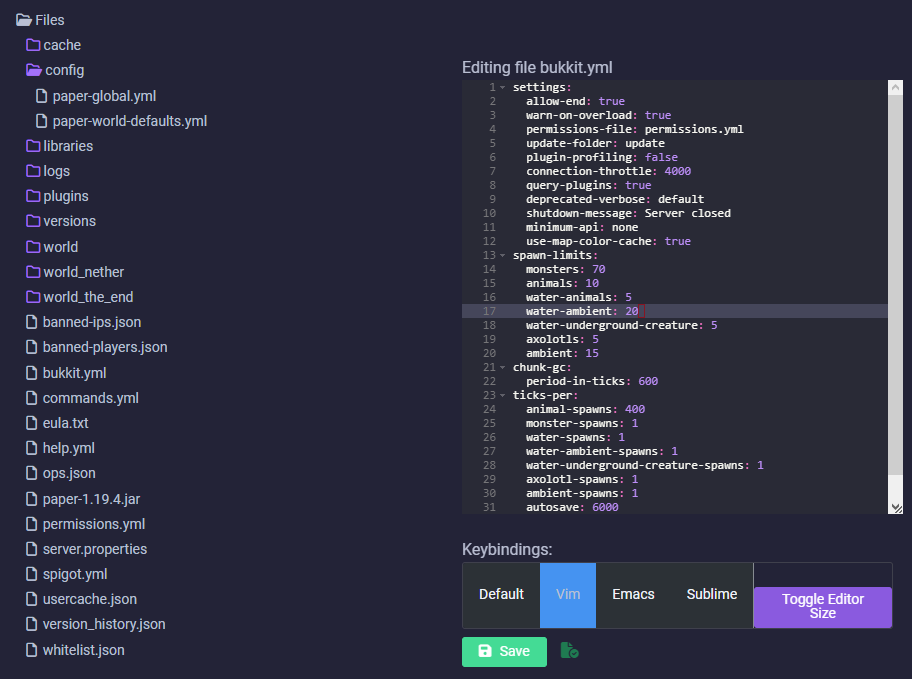
To expand a directory click on the name of the directory.
Opening a file in the editor is as simple as clicking on the file. The file editor can be expanded with the chevrons in the bottom right of the file editor, or toggle the large editor with the Toggle Editor Size button.
You can select keybindings for editor environments you're familiar with for example I prefer VIM environment so it's selected in the above example.
The file icon at the bottom of the editor displays save status.
Green with a check mark means saved.
Gray with no check mark means unsaved.
(This editor support ctrl + s for saving.)
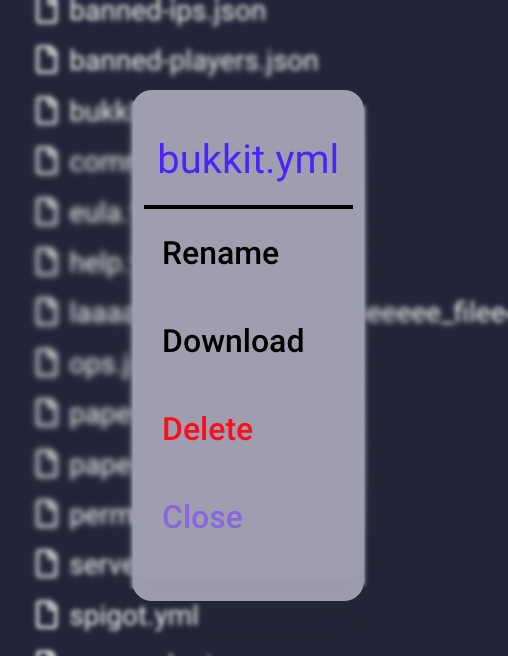
Right clicking on files (holding down on mobile) will open a context menu.
It will give you different options depending upon the file type or directory.
Uploading files

To access the upload context you must right-click on the directory where you'd like to send your files and click Upload in the context.
You may either drag and drop your files into the upload window or you can select them by clicking choose files.
Uploading directories
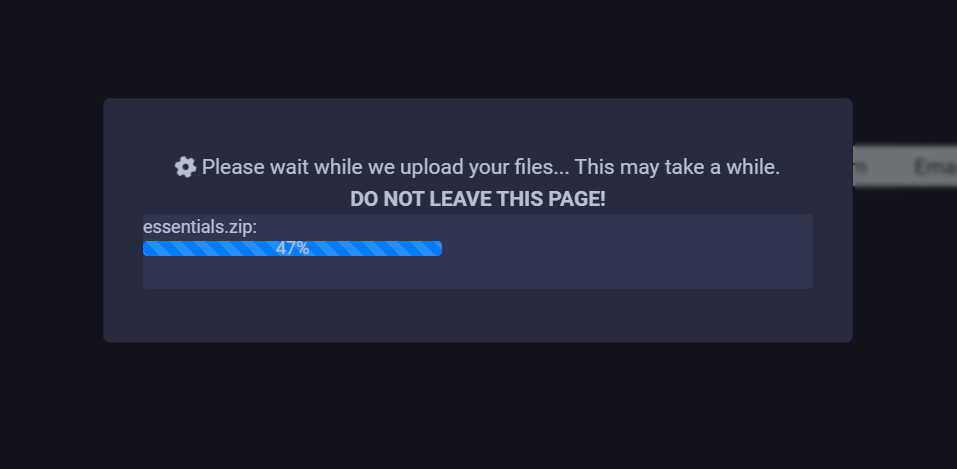
Uploading directories is unfortunately not supported due to restrictions with html, BUT what you can do is zip up the directory upload the zip, right-click and unzip. The directory will be created with the same name as the zip. :)